Fixing Light Burn Without Stunting Growth
Light burn is one of the most common self-inflicted wounds in indoor cannabis cultivation, especially with modern high-output LEDs that can push PPFD levels far beyond what older HPS growers ever had to worry about. The instinct when you spot bleached, taco'd top-canopy leaves is to yank the lights way up or slash the intensity dial to zero, but overcorrecting is exactly how you turn a cosmetic problem into a two-week stall in vegetative or flower development.
The goal isn't just to stop the burn -- it's to walk the plant back to its optimal light saturation point without triggering a stress response that costs you a full week of stacking or bud development. Below is the exact diagnostic and correction process I use to fix light burn while keeping plants moving forward.
Confirming It's Actually Light Burn
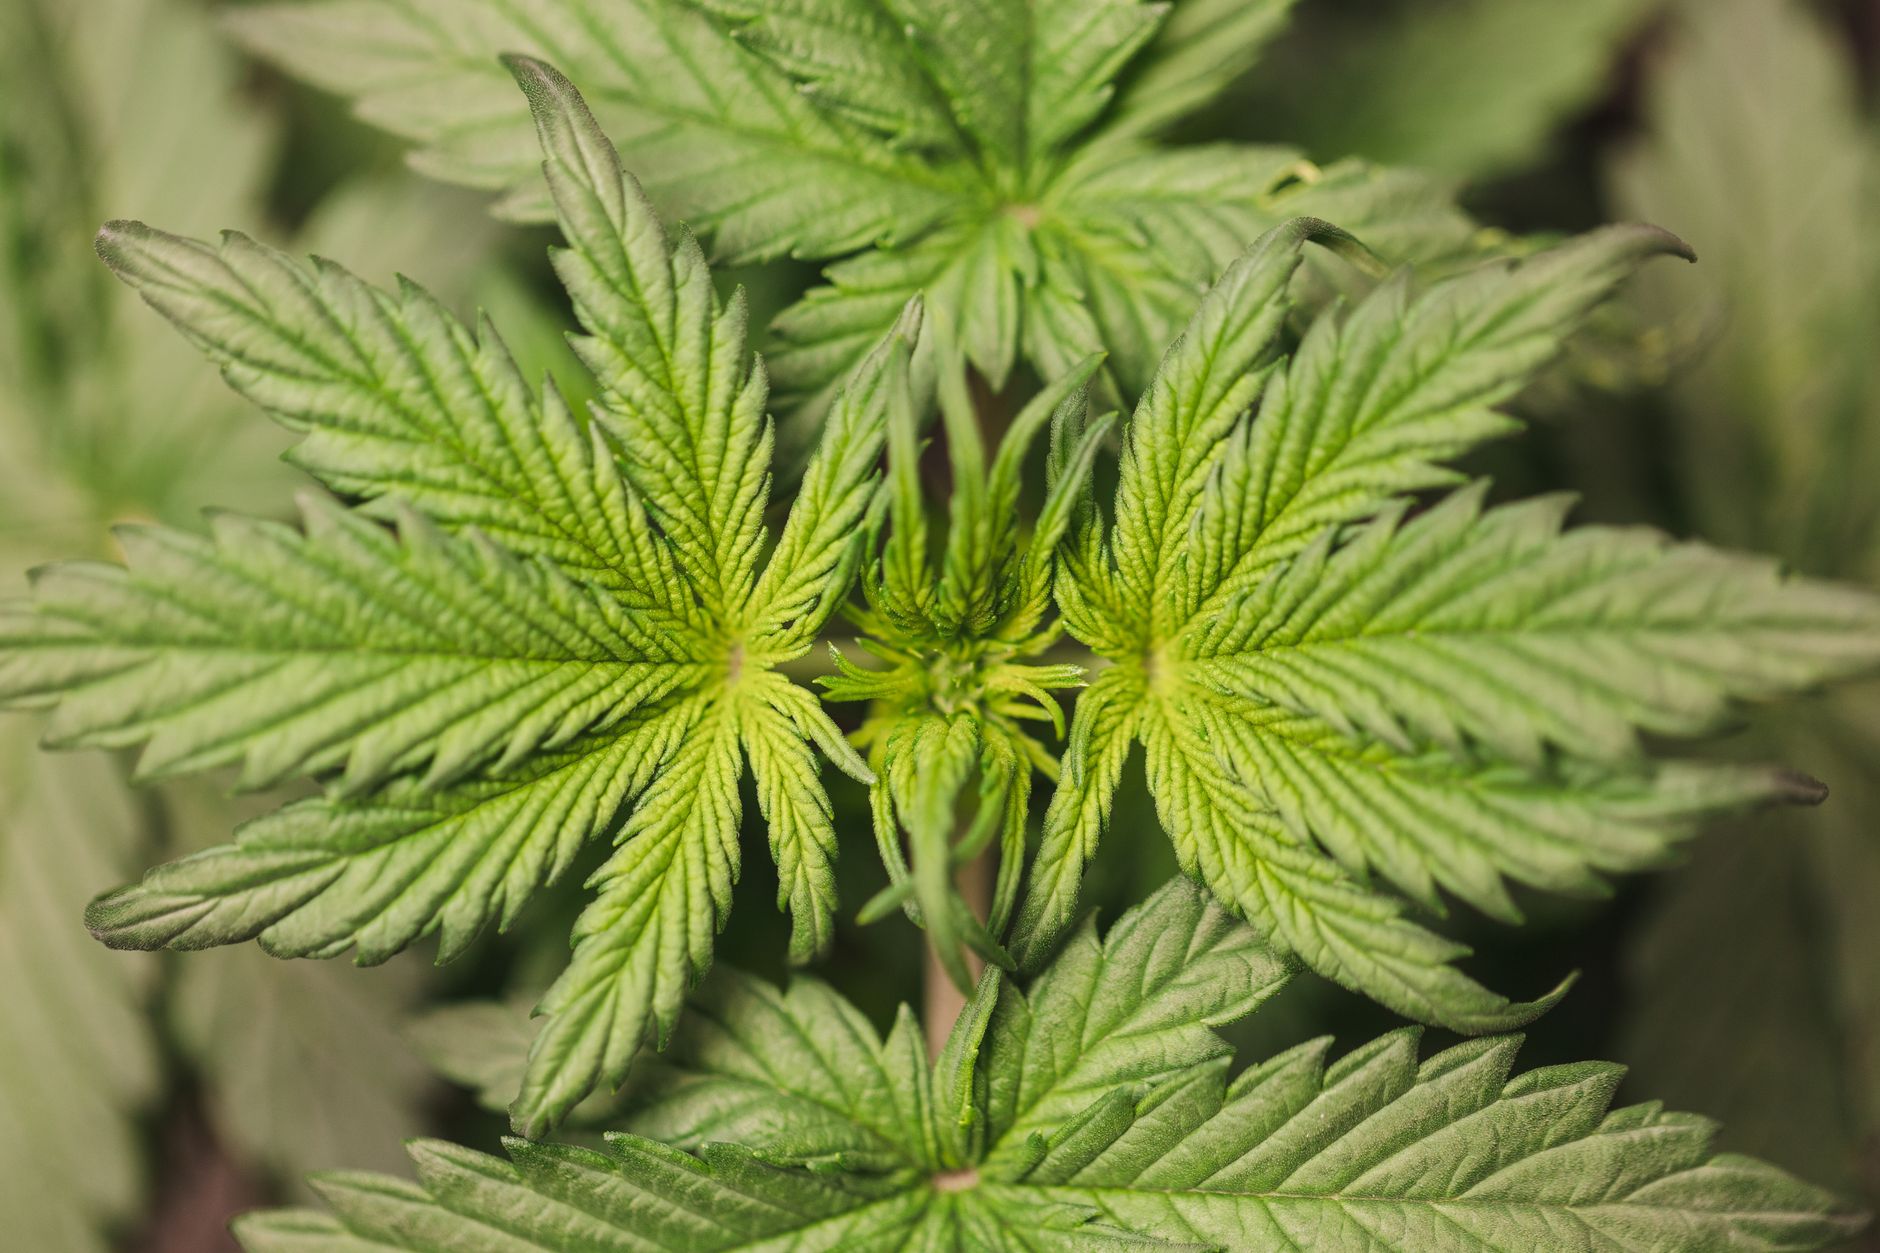
Photo by Michael Morse via Pexels.
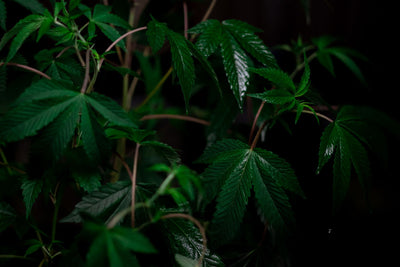
Before touching your lights, rule out the imposters. Light burn presents as bleaching or a bronze/yellow-white "washed out" look concentrated on the uppermost leaves and colas that sit closest to the light source -- the parts getting the most direct radiant intensity. It does not follow the interveinal patterns of a nutrient deficiency, and it doesn't show up uniformly across the whole canopy the way heat stress from poor airflow does.
Nitrogen deficiency yellows from the bottom up and follows veins. Potassium deficiency shows leaf-margin burn on older growth. Heat stress causes upward leaf curling (canoeing) but with normal leaf color, often paired with elevated leaf temps from poor exhaust. Light burn, by contrast, is a top-down bleaching pattern that gets worse the closer a leaf sits to the diodes, often with a sharp gradient from severely bleached at the very top to normal green just a few inches lower.
Check your PPFD with a quality quantum PAR meter at canopy level. If you're reading above 1,000-1,100 µmol/m²/s in vegetative growth without CO2 supplementation, or above 1,200-1,500 µmol/m²/s in flower without enriched CO2, you've likely found your culprit. Also check leaf surface temperature directly under the hottest part of the fixture -- if it's running 6-8°F hotter than ambient canopy temp elsewhere, radiant heat from the light itself is compounding the photobleaching.
The Gradual Step-Down Correction
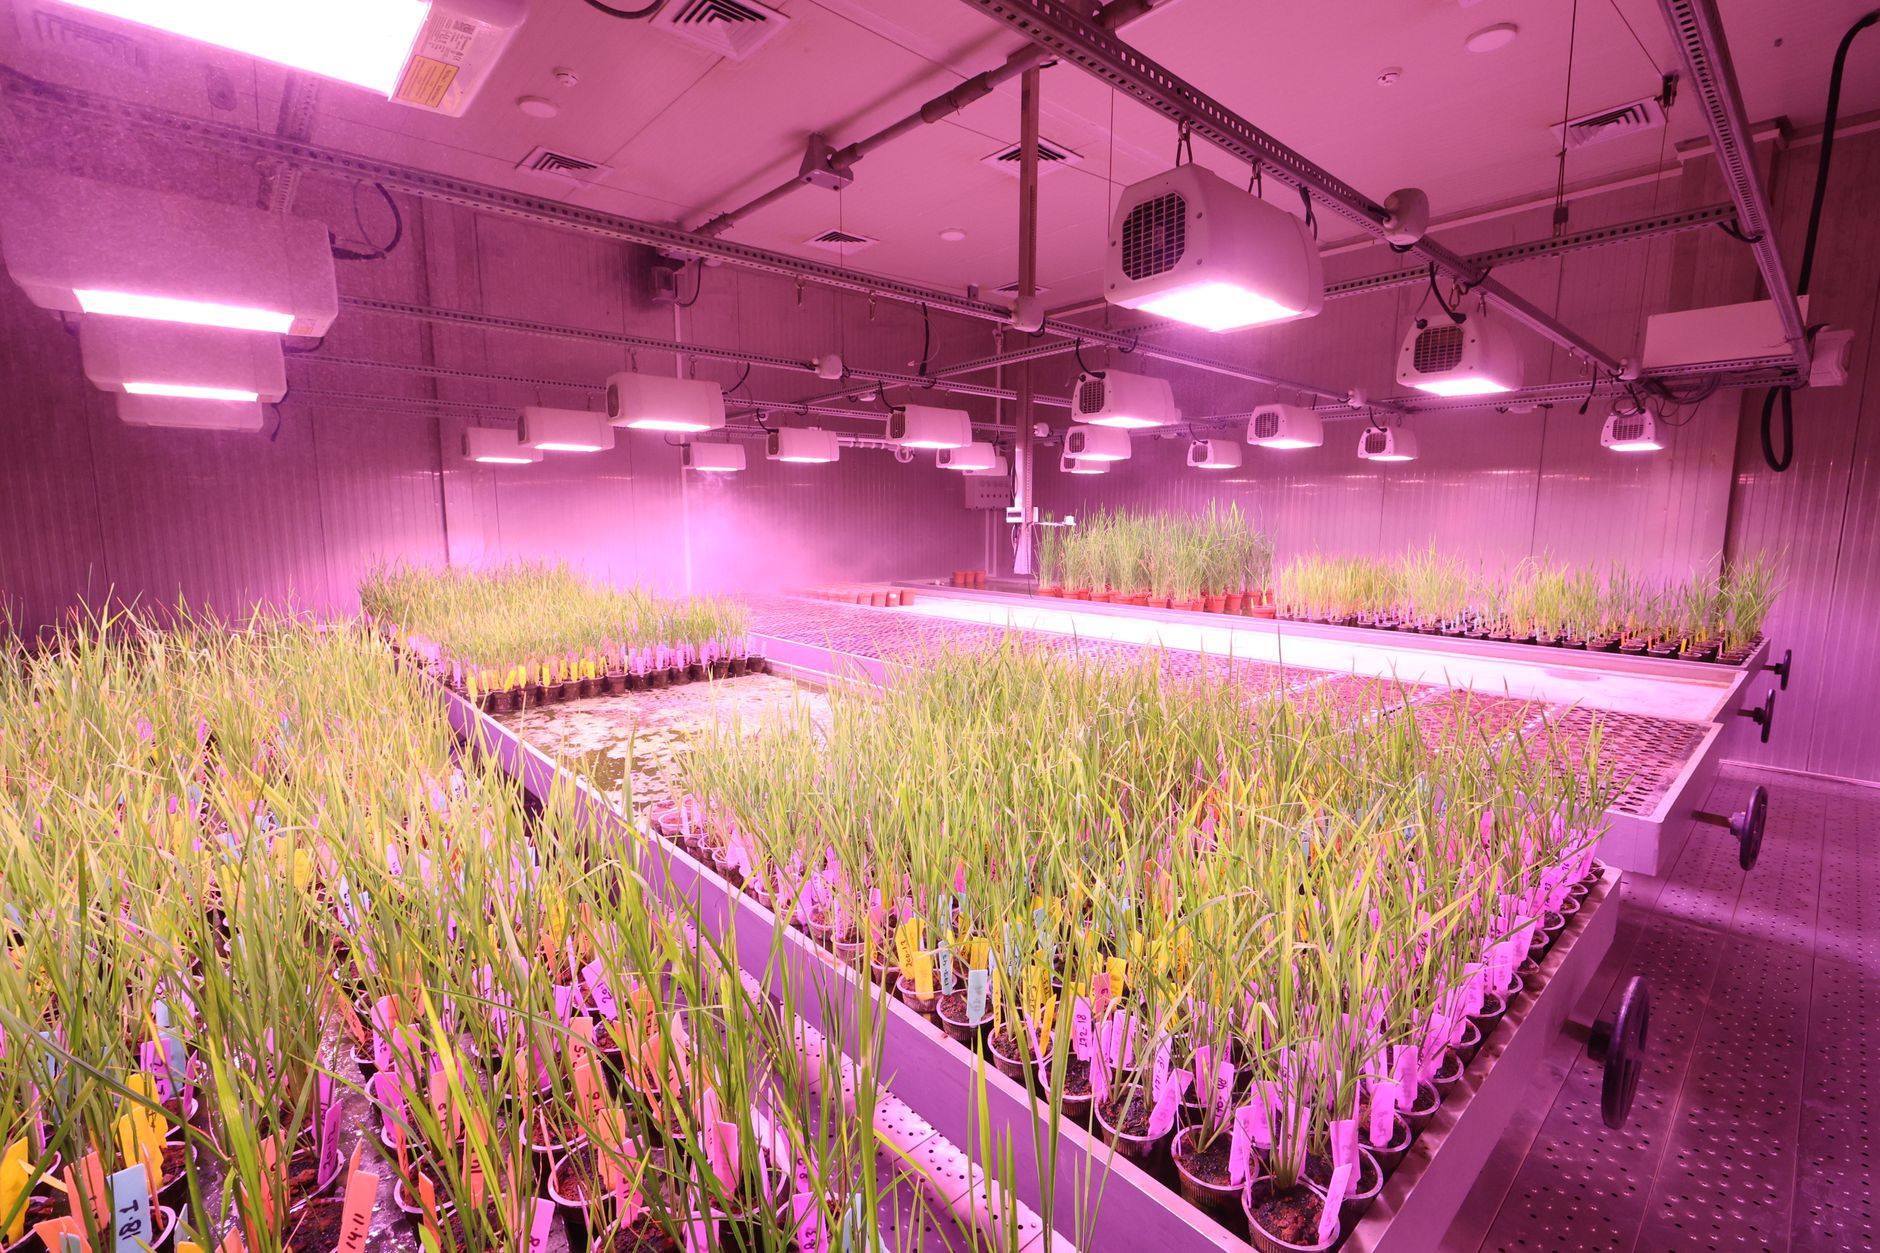
Photo by Resham Kumari via Pexels.
The mistake most growers make is dropping intensity by 40-50% overnight or raising the light 12+ inches in one move. Plants that have been running at high PPFD have upregulated their photoprotective pigments and adjusted stomatal behavior to that light regime -- yank it away suddenly and you shock the plant into a different kind of stress response, often showing up as slowed stretch or delayed trichome development a week later.
Instead, step down intensity by 15-20% at a time, reassessing after 48-72 hours. If you're running a dimmable LED driver, this is simple -- drop from, say, 90% to 72-75% output. If you don't have dimming, raise canopy distance in 2-inch increments rather than one big jump. Track PPFD with your meter at each step rather than guessing by eye; light intensity falls off with the inverse square law, so small distance changes near the canopy make a bigger difference than the same distance change further away.
Target landing zones: 700-900 µmol/m²/s for late veg, 800-1,000 µmol/m²/s for early-to-mid flower, and up to 1,000-1,200 µmol/m²/s for peak flower weeks 4-6 if you're running CO2 above 900 ppm. Without CO2 enrichment, stay under 1,000 µmol/m²/s even at peak flower -- pushing beyond that without extra carbon just wastes photons and reburns tissue.
Managing the Damaged Tissue
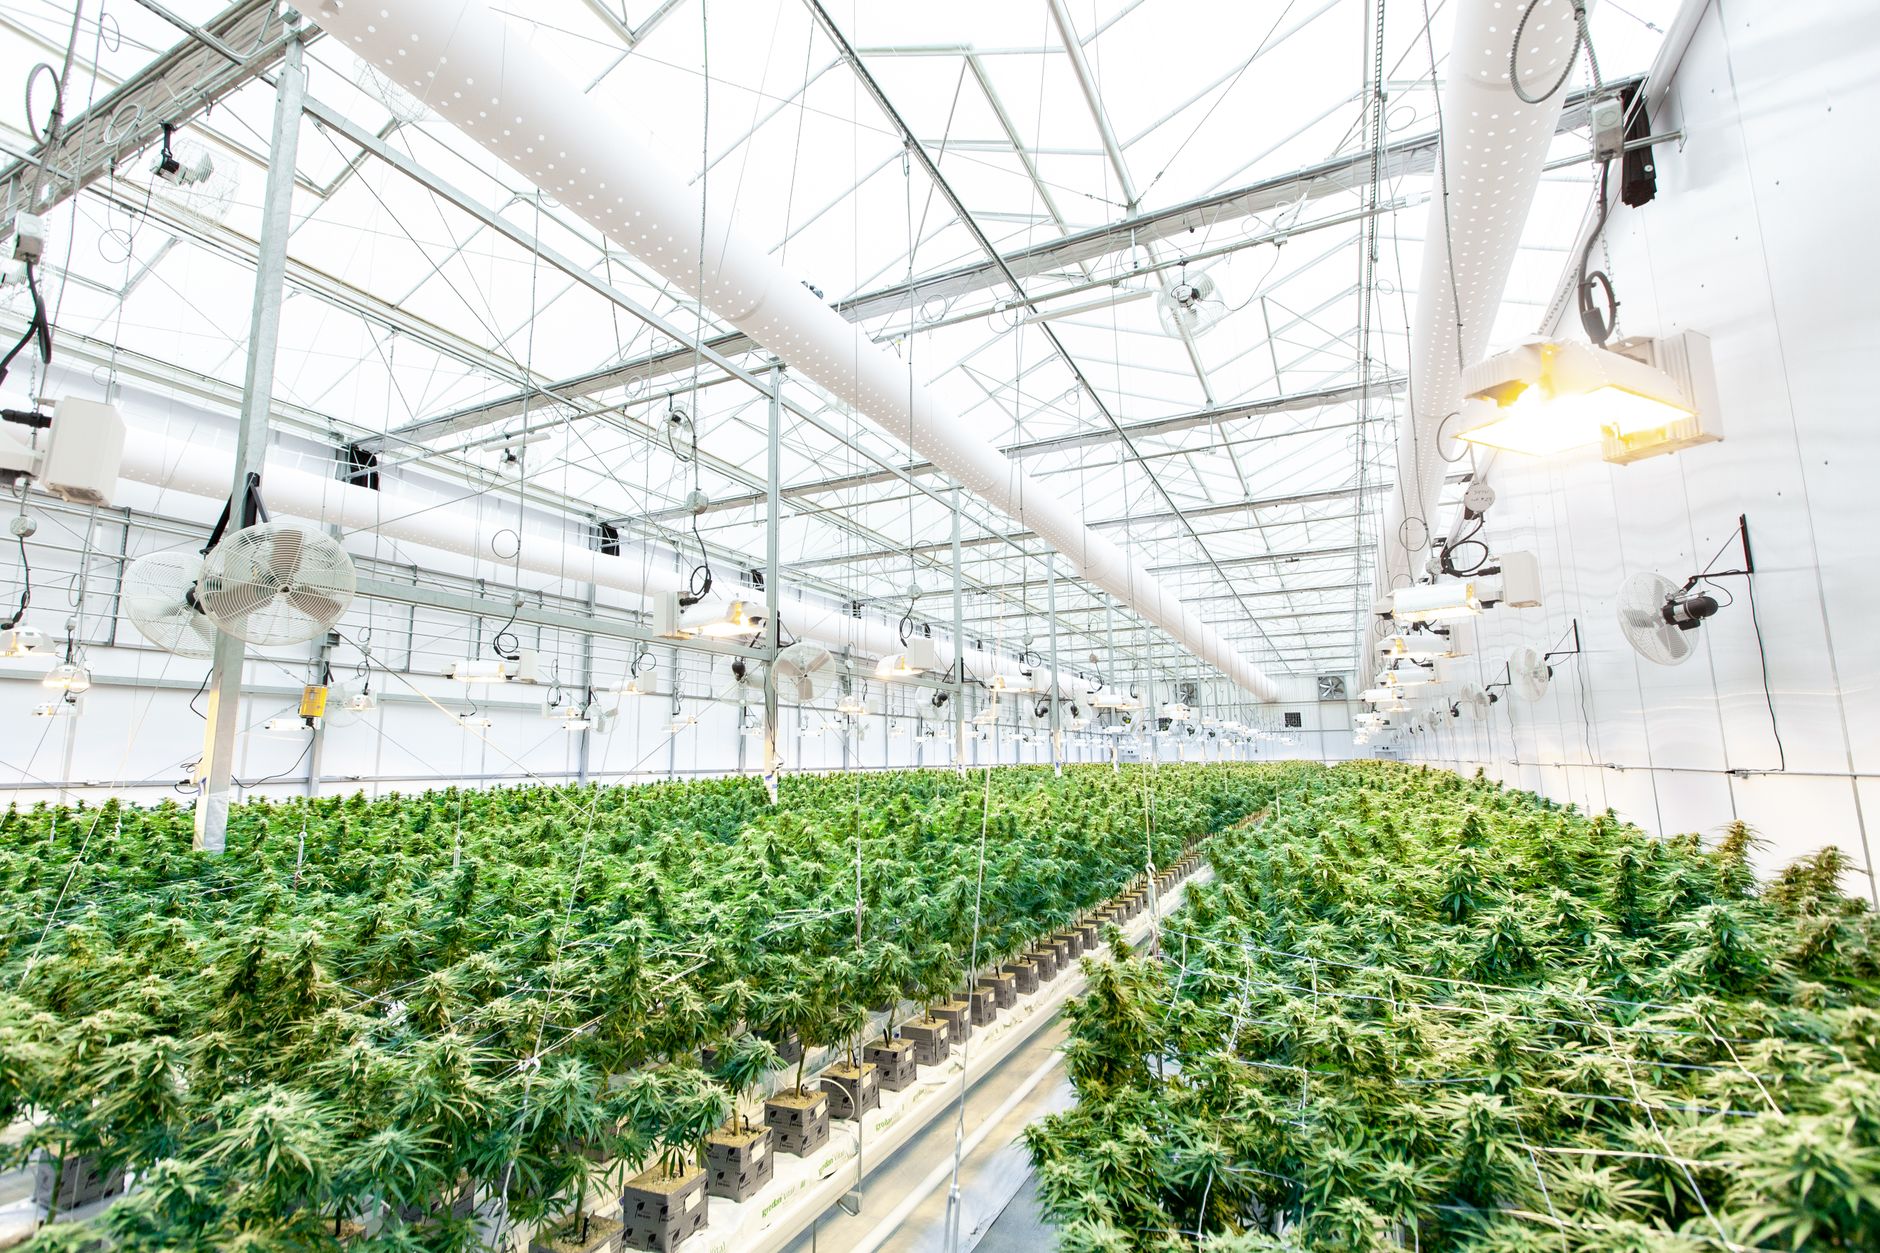
Photo by Richard T via Pexels.
Don't remove bleached leaves preemptively. Even significantly bleached leaf tissue often retains partial photosynthetic function, and stripping it forces the plant to rebuild photosynthetic area from scratch using energy that should be going toward bud development. Leave damaged leaves in place until they're fully necrotic, brittle, and clearly non-functional -- usually 10-14 days after the correction, you'll see natural senescence on the worst-hit leaves while surrounding tissue greens back up.
If bleaching is severe enough that leaf tissue is crispy and curling inward within 48 hours of the burn (not just white/yellow, but structurally collapsing), that tissue is dead and can be removed -- but only that specific leaf, not a broader defoliation pass. Resist the urge to do a big cleanup defoliation at the same time you're correcting light intensity; stacking two stressors (light change + defoliation) at once is a common cause of the growth stall people blame on the light burn itself.
Increase silica supplementation slightly if you're not already running it -- potassium silicate strengthens cell walls and has some support for improving tolerance to radiant and UV stress, though it won't reverse existing damage. It's a preventive tool for the next grow cycle more than a fix for this one.
Adjusting VPD and Airflow to Support Recovery

Photo by Mike van Schoonderwalt via Pexels.
Light burn rarely travels alone -- it's almost always paired with elevated leaf surface temperature, and elevated leaf temp increases transpiration demand right when the plant's photosynthetic machinery is compromised. This is where growers lose additional growth momentum without realizing it.
Tighten your VPD to the lower end of the ideal range while the plant recovers: aim for 0.8-1.0 kPa rather than pushing toward the 1.2-1.5 kPa upper range typical of aggressive flower environments. A slightly humid, lower-stress environment reduces transpirational pull on damaged leaf tissue and gives the plant more margin while it reroutes resources. Bump relative humidity by 5-8 percentage points from your normal setpoint for the first week of recovery.
Increase airflow directly across the canopy top with a clip fan or oscillating fan positioned to move air through the upper third of the plant. This does two things: it strips the boundary layer of hot air sitting against leaf surfaces (lowering effective leaf temp by 3-5°F even without changing ambient room temp), and it strengthens petiole and stem tissue, which matters because bleached, weakened top growth is more prone to snapping under its own weight once buds start swelling again.
Feeding Through Recovery Without Overcorrecting Nutrients
Photo by Jave Lr via Pexels.
Don't panic-feed extra nitrogen because leaves look pale -- light burn bleaching is a pigment and cellular damage issue, not a nitrogen deficiency, and pushing nitrogen on top of already-stressed tissue can cause salt stress that compounds the problem. Keep your EC/PPM at the same target you'd normally run for that growth stage (roughly 1.4-1.8 EC / 700-900 ppm in veg, 1.6-2.2 EC / 800-1,100 ppm in flower, adjusted for your specific line's calibration), and resist the urge to strengthen the feed.
What does help is making sure potassium and phosphorus are adequate but not excessive, since these support cell membrane repair and energy transfer during recovery. If you're running a bloom-stage feed already, stay the course rather than swapping formulas mid-correction -- introducing a new nutrient line while the plant is stressed adds a variable you don't need.
Root zone temperature matters more here than people expect: keep it at 65-70°F. A cool, well-oxygenated root zone supports faster nutrient uptake and helps the plant rebuild canopy tissue efficiently once light and airflow are corrected. Expect visible recovery -- new growth showing normal green color and healthy leaf orientation -- within 7-10 days of making the intensity correction, with full canopy recovery by 2-3 weeks depending on how advanced the burn was and which growth stage you're in.
Light burn is a correctable mistake, not a growth-ending one, as long as you fix it with measured steps instead of drastic overcorrections. Diagnose properly with a PAR meter, step intensity down gradually, leave damaged tissue in place until it's truly finished, tighten VPD and airflow to support recovery, and hold your nutrient program steady rather than reacting emotionally to pale leaves. Do this right and most plants show full recovery within two to three weeks with no meaningful yield penalty.
Every setup responds a little differently depending on your light fixture, room climate, and the genetics you're running -- some strains simply tolerate high PPFD better than others, which is one more reason starting with quality, well-bred seeds from a source like Seedtiva pays off when you're pushing intensity for maximum yield. Dial in your equipment methodically, trust the recovery timeline, and don't let one overcorrected environment lead to another.
Photo by Nataliya Vaitkevich via Pexels.