Highest-Yielding Photoperiod Strains for Indoor Grows
Every serious indoor grower eventually asks the same question: which photoperiod genetics actually put the most jarrable flower under the lights per watt and per square meter? Yield potential isn't just about the strain name on the seed pack -- it's the intersection of genetics, root zone size, light intensity, and training technique. But some cultivars carry the genetic machinery for massive colas and heavy branch loading right out of the gate, and picking the right one saves you months of trial and error.
This guide breaks down the photoperiod strain categories that consistently top the scoreboard in commercial and hobbyist rooms alike, plus the specific environmental and training inputs you need to actually realize that potential. Genetics set the ceiling; your grow room execution decides how close you get to it.
What Actually Makes a Strain High-Yielding

Photo by Diego Barros via Pexels.
Before naming names, understand what you're selecting for. High-yield genetics typically share a few traits: vigorous vegetative growth with strong internodal spacing, a branching structure that supports multiple even colas rather than one dominant spear, and flowering times in the 8-10 week range that don't sacrifice bulk for speed. Sativa-dominant hybrids often stretch tall with airy colas that look big but weigh light; heavy indica-leaning hybrids and certain Haze-derived crosses tend to pack density into the bud structure itself, which is where real dry weight comes from.
Look for breeders' data on flowering week count, described bud density, and branch structure -- "resin-heavy, dense colas" language usually correlates with better weight-to-volume ratio than "fluffy, sativa stretch." Stability matters too: an unstable cross might produce one monster plant and three mediocre ones from the same pack. Quality genetics with proven, stabilized lineage remove that variable, which is why sourcing well-bred seeds from a reputable supplier matters as much as the strain category you choose.
Also factor in your actual grow space. A strain that yields 700g on a single massive outdoor-style plant needs 90-120 days of vegetative room and a huge canopy -- not realistic in most tents. For indoor rooms, the highest realistic yields per square meter almost always come from strains with moderate stretch, strong lateral branching, and flowering times you can run four to five times a year.
Top Photoperiod Categories for Indoor Yield

Photo by Jave Lr via Pexels.
Big Bud and OG Kush-derived hybrids remain benchmark heavy yielders -- thick, resin-dense colas on sturdy stems that rarely need extra staking until week 6-7 of flower. Expect 500-600g/m2 under a properly dialed 1000W-equivalent LED setup.
Gorilla Glue-type hybrids combine rapid vegetative vigor with resin production high enough that trichome weight itself contributes meaningfully to final harvest weight. They respond exceptionally well to a 2-3 week vegetative period before flip, building the branch structure needed to support the eventual bud mass.
Wedding Cake and Gelato-lineage crosses throw dense, heavy-calyx colas with tight internodal spacing -- ideal for screen-of-green (SCROG) setups because you get more usable bud sites per square meter of canopy without excessive stretch eating up vertical space.
Haze-dominant sativa hybrids (not pure Haze, which runs 12-14 weeks) can outyield everything else in raw grams per plant when given the vertical room, but they demand taller tents (7ft+) and longer flower cycles, which cuts into annual harvest count. Best suited to growers running fewer, bigger cycles rather than perpetual harvest schedules.
Across all these categories, genetics only account for maybe 40-50% of final yield outcome -- the rest comes down to light intensity, root zone volume, and training, which is exactly what determines whether you hit the low or high end of a strain's published range.
Light, CO2, and Root Zone: The Non-Negotiables
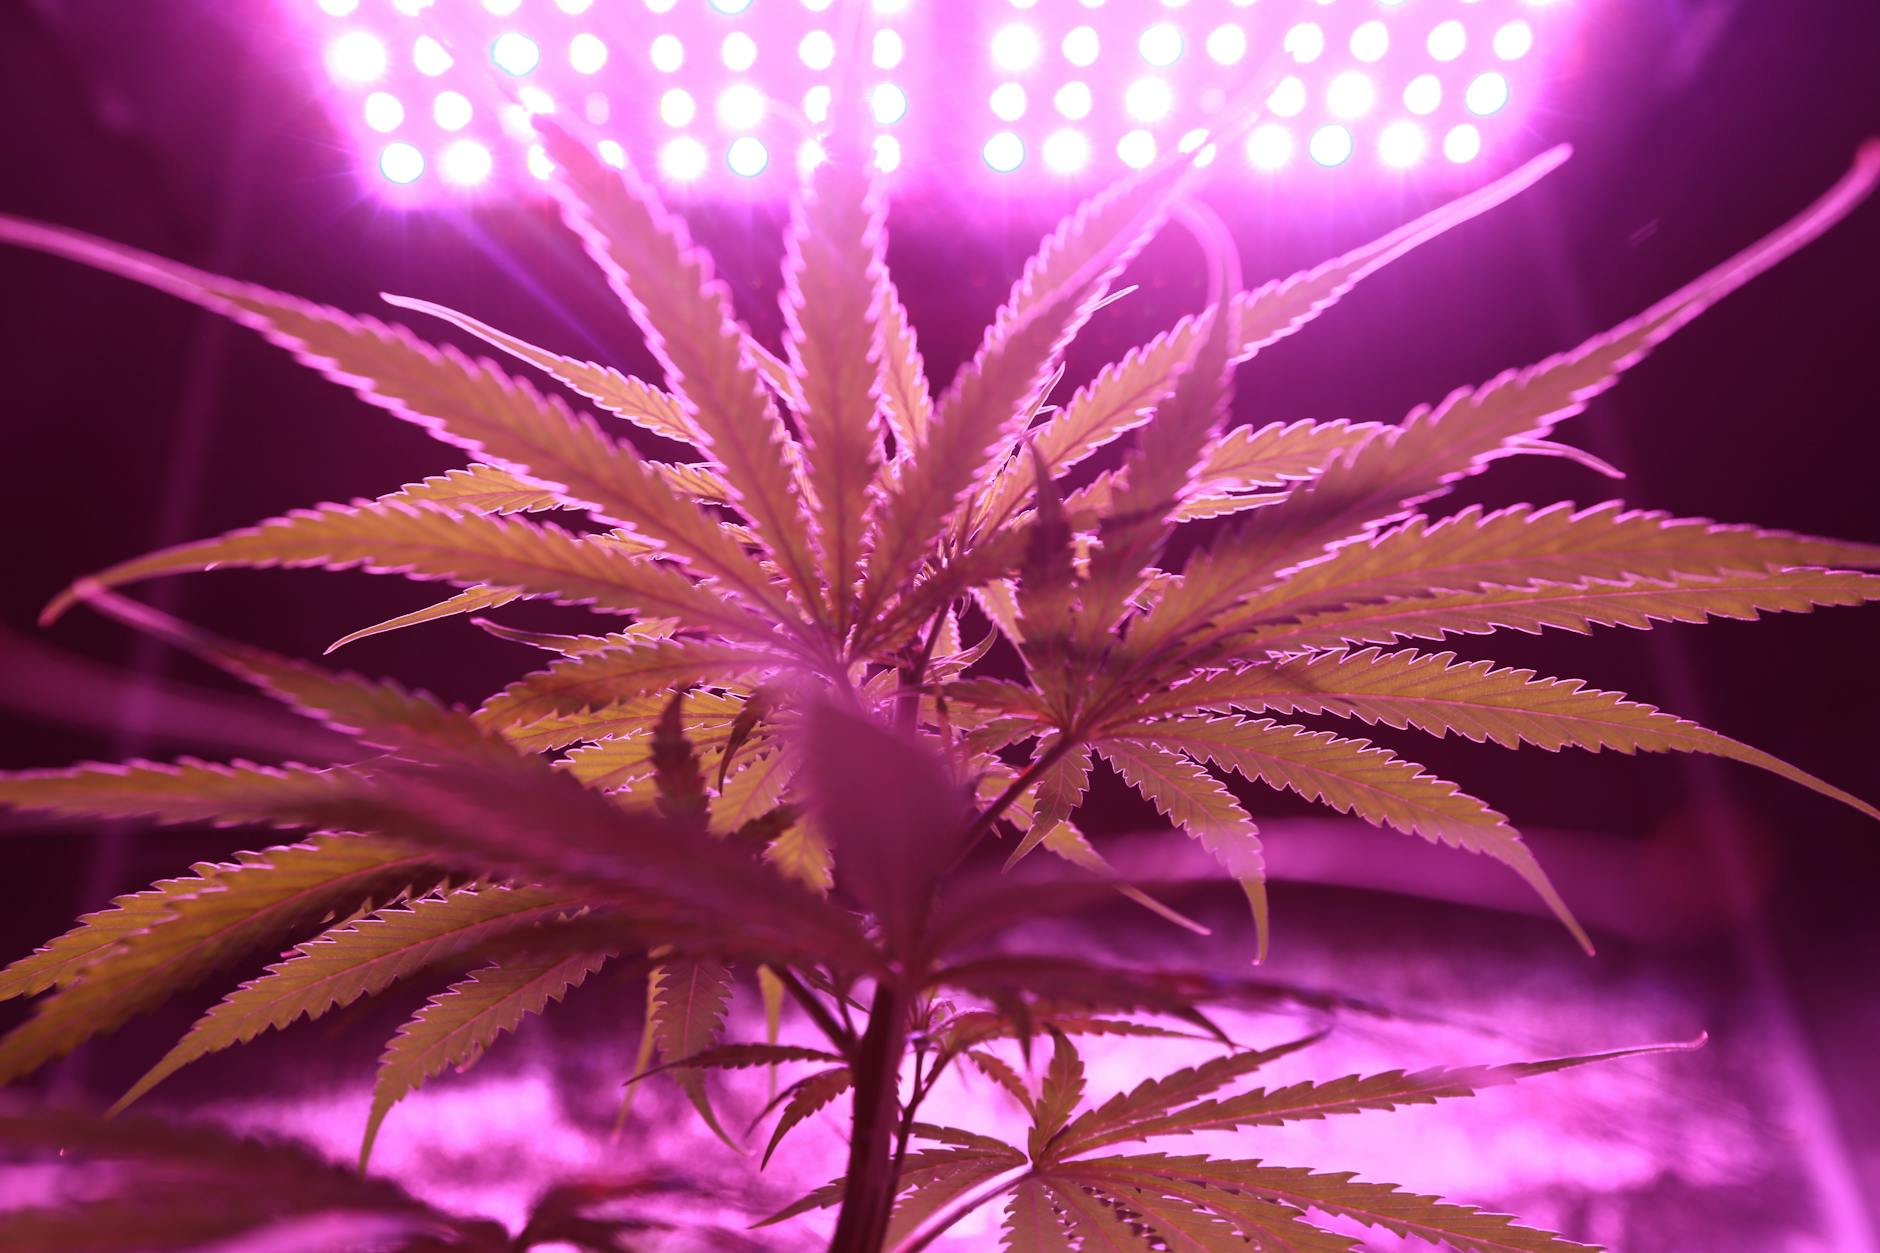
Photo by Washarapol D BinYo Jundang via Pexels.
No strain outyields its light budget. For genuine high-yield flowering, target 800-1000 PPFD at canopy level during peak flower (weeks 3-6), ramping up from 400-600 PPFD in early flower to avoid light stress on immature buds. That translates to a daily light integral (DLI) of roughly 40-45 mol/m2/day under an 12/12 photoperiod -- below 30 DLI and you're capping yield regardless of genetics.
Supplemental CO2 enrichment to 1000-1200 ppm becomes worthwhile once you're pushing PPFD above 800, since photosynthesis becomes carbon-limited before light-limited at that intensity. Skip CO2 supplementation if you can't also increase light and maintain proper leaf-surface airflow (minimum 2-3 mph across canopy) -- pumping CO2 into a stagnant, under-lit room does nothing.
Root zone volume is the most underrated yield lever. High-yield strains are heavy feeders with extensive root systems; cramming a Big Bud phenotype into a 3-gallon pot starves the plant of the buffering capacity needed to support fast nutrient uptake during peak bulk weeks 5-7. Run 5-7 gallon containers minimum for single-plant SOG/SCROG setups, or size fabric pots to at least 15-20% of your total canopy footprint in soil volume.
Nutrient-wise, high-yield genetics during peak flower typically want EC in the 2.0-2.6 mS/cm range (roughly 1000-1300 ppm on the 500 scale) with a bloom-heavy P-K ratio, tapering EC down to 1.2-1.4 mS/cm in the final 10-14 days before flush.
Training Techniques That Multiply Yield

Photo by MySeeds DE via Pexels.
Genetics provide the potential bud sites; training determines how many of them actually receive full-intensity light. Low-stress training (LST) applied through weeks 2-4 of vegetative growth opens up the canopy and creates 6-10 even-height colas instead of one dominant top, which is essential for heavy-branching strains like Gelato or Wedding Cake crosses.
SCROG (screen of green) is the single best technique for maximizing yield per square meter with moderate-stretch hybrids -- weave branches through a screen at 1.5-2 feet above the pot, filling every gap before allowing vertical growth, then flip to 12/12 once 70-80% of the screen is filled. This can add 15-25% to per-square-meter yield versus an untrained canopy under identical lighting.
For sativa-dominant Haze hybrids that stretch aggressively, topping once at node 4-5 during veg followed by defoliation of the lower third of the canopy in early flower (removing fan leaves that shade budsites, not the budsites themselves) redirects energy upward into fewer, heavier colas rather than dozens of small popcorn buds.
Whatever technique you choose, stop major training interventions by day 21 of flower -- stress applied after that point (especially topping or heavy defoliation) costs more recovery time than it returns in yield. Light lollipopping of the bottom 1/3 of the plant during the flip is the one exception, since it's worth removing bud sites that will never receive adequate PPFD anyway.
Matching Strain Choice to Your Setup

Photo by Juan Miguel Restrepo Barrera via Pexels.
The "best" high-yield strain is the one whose growth pattern matches your room's physical constraints. In a 4x4 tent with a 6.5ft ceiling, a rangy Haze hybrid will hit the light and get stuck stretching sideways -- choose a compact, indica-leaning heavy yielder instead and run more plants per cycle (SOG-style, 1 gallon pots, 6-9 plants/m2) rather than fewer massive ones.
If you've got vertical headroom and are running fewer, larger plants (2-4 per m2 in 7-10 gallon pots), stretchier sativa-dominant hybrids can outyield compact strains on a per-plant basis, since you're not constrained by canopy height.
Climate control capacity matters just as much. Dense, resin-heavy colas from Gelato or OG-type crosses are more prone to bud rot in humid climates if your dehumidification can't hold RH below 45-50% during late flower -- in that case, an airier-budded but still heavy-yielding hybrid might actually finish with more usable weight after trimming out mold damage.
Realistic expectations matter here too: published yield figures from breeders are typically best-case numbers achieved under optimized commercial conditions. A first-time grower in a modest tent should expect somewhat lower numbers even from top genetics, with results varying significantly based on climate control, light quality, and experience level -- there's no genetic shortcut around dialed-in environmental fundamentals.
The highest-yielding photoperiod strains give you a head start, not a guarantee. Big Bud and OG-type hybrids, Gorilla Glue crosses, Gelato/Wedding Cake lineage, and Haze-dominant sativas each excel under different room configurations -- match the strain's natural growth pattern to your tent height, pot size, and light budget before chasing the biggest number on a breeder's page.
Starting with stable, well-bred genetics removes one major variable from the equation, but the 800+ PPFD, properly sized root zones, and disciplined training covered above are what actually convert genetic potential into jars on the shelf. Dial in those fundamentals first, and let the strain do the rest.
Photo by GB The Green Brand via Pexels.