Fixing Light Burn Without Stunting Your Plants
Photo by Washarapol D BinYo Jundang via Pexels.
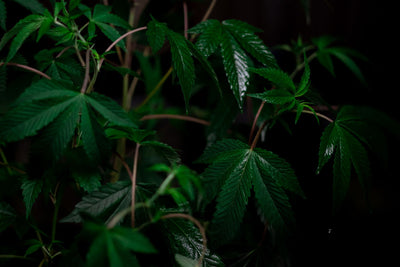
You walk into the tent expecting the usual jungle of green and instead find the top of the canopy looking like it got left in a photocopier too long — leaves bleached white or pale yellow, edges curling up like little tacos, some of them dry and crispy to the touch. That's light burn, and it's become one of the most common self-inflicted injuries in home grows since high-output LED quantum boards took over from HPS. The fixtures aren't defective. The grower just gave the plant more photons than it could use, and the tissue paid for it.
The panic response is almost universal: yank the light up two feet in one move, or slam the dimmer down to 40% and hope for the best. That instinct feels responsible, but it's usually the second mistake stacked on top of the first. A sudden, drastic swing in light intensity is its own stressor, and a plant that's already diverting energy into damage control doesn't need another shock to process on top of the burn.
This is about fixing it the way you'd actually want it fixed — with numbers, not vibes. PPFD readings, DLI targets, and small, measured adjustments instead of guessing based on how the leaves look from across the room. You can't un-burn tissue that's already bleached and dead; that part of the plant is gone. But you can stop further damage and get the plant back to pushing new growth within days instead of leaving it to idle in recovery mode for weeks.
Is It Really Light Burn? Ruling Out Nutrient Burn First
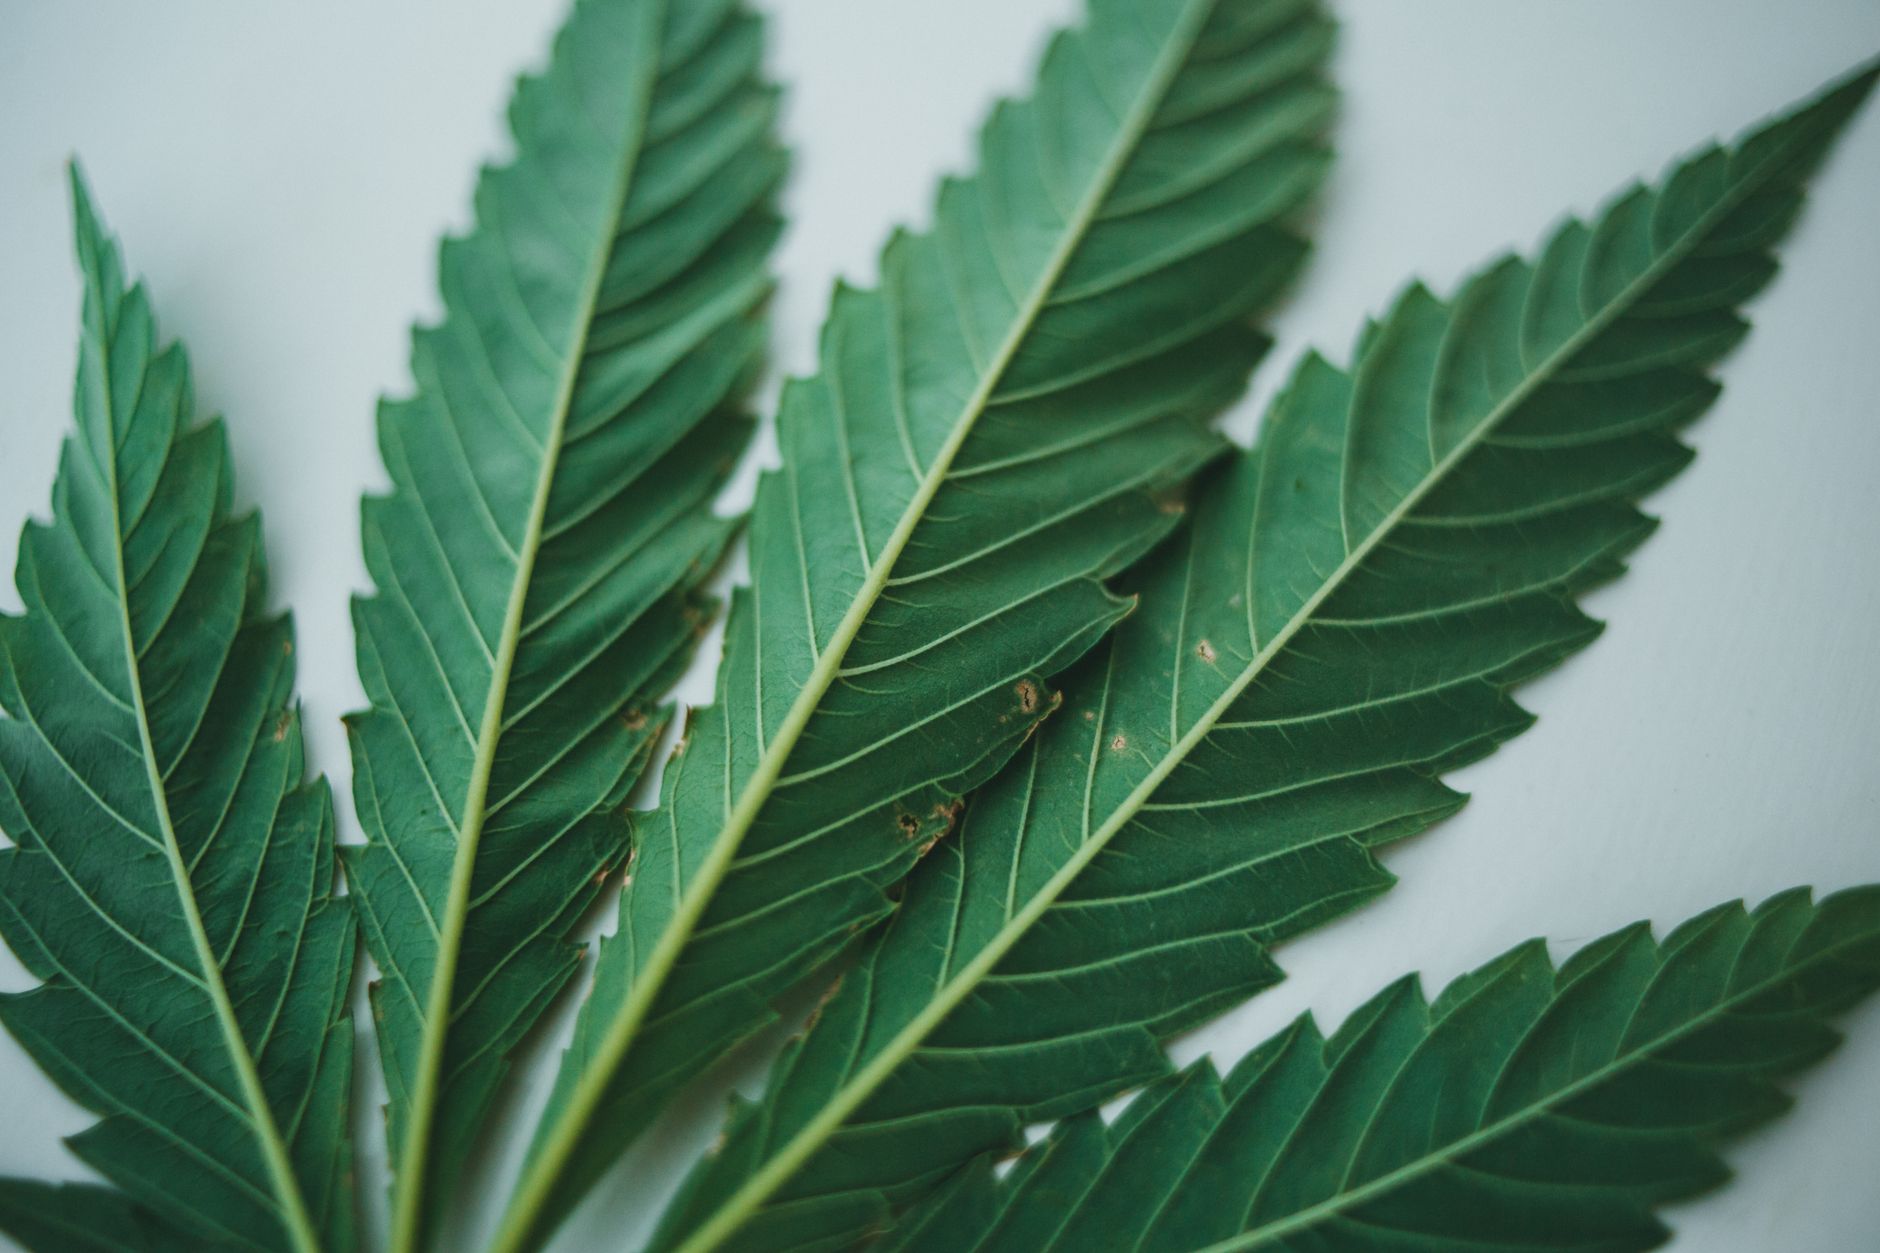
Photo by Jonathan Cooper via Pexels.
Before you touch a light dimmer or a light hanger, look at where the damage actually is. Light burn is positional — it only shows up on the leaves closest to the source, the top of the canopy that's catching the most direct, most intense photons. If the top few nodes look scorched and everything below looks normal, that's a strong clue you're dealing with an intensity problem, not a feeding problem.
Nutrient issues read differently, and the pattern matters more than people give it credit for. Deficiencies in mobile nutrients like nitrogen or magnesium typically show up on lower, older leaves first, because the plant cannibalizes those tissues to feed new growth. Immobile nutrient issues — calcium, for instance — tend to show up on new growth at the tips, but usually with distinct spotting, interveinal chlorosis, or clawing, not a uniform bleach-out concentrated at the light source.
Before you touch the lights, pull a runoff sample and check pH and EC. In soil you want runoff pH sitting in the 6.0-6.5 range; in hydro or coco you're looking at 5.5-6.2. If that number comes back clean and the only symptom is yellowing or bleaching confined to the top of the plant, you can rule out a nutrient lockout or toxicity with real confidence. That's your signal to raise the light before you touch feeding at all.
The visual tells are worth learning cold, because they diverge fast once you know what to look for. Light-burned leaves bleach toward white or pale yellow and go crispy, often curling upward into a taco shape as the tissue dries out from the top down. Nutrient problems tend to progress more gradually — chlorosis that spreads evenly across a leaf, spotting, clawing at the tips, or a color shift that moves through the plant over days rather than concentrating at one height.
The costly mistake here is treating light burn like a deficiency. If you see bleached top leaves and respond by bumping up your feed strength, you're adding EC stress to a canopy that's already struggling to process the light it's getting. That combination — high intensity plus higher salt concentration in the root zone — is a good way to turn a recoverable problem into a much slower one.
Why LEDs Make This Mistake So Easy to Make

Photo by Vanburn Gonsalves via Unsplash.
HPS growers rarely dealt with this because HPS bulbs are inefficient in a way that accidentally protected the plant. A lot of the energy going into an HPS bulb comes out as heat rather than usable PAR, so by the time a grower got a light close enough to deliver serious PPFD, the canopy was also getting hot enough to send an obvious warning — leaf curl, wilting, a hot dry feeling in the air a foot below the bulb. You backed off because you could feel it.
Quantum board LEDs broke that warning system. They convert electricity to usable light far more efficiently, which means a modern board can deliver double or triple the PPFD of an HPS fixture at the same wattage, while running noticeably cooler at the leaf surface. The plant can be absorbing more light than it can process for photosynthesis well before the air around it feels warm. There's no heat cue telling you to back off, so the first sign you get is the leaves themselves failing.
This is exactly why so many growers get burned switching from HPS to LED for the first time. They hang the new panel at the same 12-18 inches that worked fine for years under HPS, assume the lower operating temperature means it's safer to run close, and end up cooking the top of the canopy within a week. The fixture isn't the problem — the assumption that distance alone dictates intensity is.
Manufacturers have started building in safeguards for this exact scenario. Fixtures like the AC Infinity CLOUDRAY S6, priced around $189, ship with dial controls specifically so growers can back off intensity without needing to physically move the light, which matters a lot in low-height tents where you don't have six extra inches to spare.
None of that replaces actual measurement, though. A basic quantum PAR meter runs $80-150 and is, without much competition, the single best piece of equipment you can buy to stop this problem before it starts. Reading canopy PPFD directly takes the guesswork out of mount height entirely — you're no longer relying on old habits from a different technology to tell you where to hang a light that behaves nothing like the one you used to run.
The PPFD and DLI Targets You Should Actually Be Running
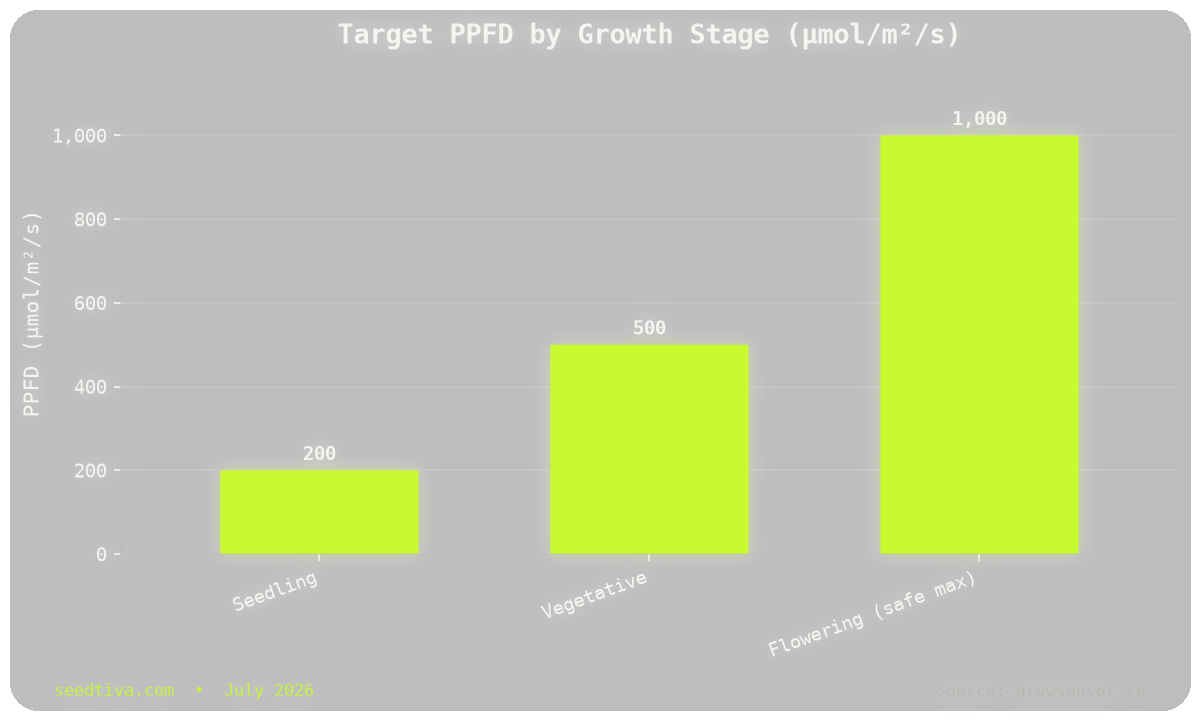
Numbers do more work here than any amount of experience staring at leaves. Different growth stages have real PPFD and DLI ranges attached to them, and running outside those ranges — especially running too hot too early — is where most light burn originates.
Seedlings want very little. Somewhere around 200 µmol/m²/s at canopy is the target, with a 200-300 range being acceptable depending on how vigorous the genetics are, translating to a daily light integral of roughly 6-12 mol/m²/d. Seedlings pushed past this threshold show stunting and leaf curl fast, because the young tissue simply doesn't have the capacity to use that much light yet.
Moving into vegetative growth, the plant's capacity to use light climbs substantially. PPFD in the 350-600 µmol/m²/s range supports strong vegetative expansion without stressing the canopy, with a DLI target of 12-17 mol/m²/d being where most healthy veg growth happens. This is usually the stage where growers get overconfident and start pushing numbers meant for flower too early.
Flowering is where the ceiling goes up but so does the risk. PPFD of 600-1000 µmol/m²/s is the productive range for most flowering cannabis without supplemental CO2, and real bleaching risk starts climbing once you pass 1000, becoming a serious concern above 1100 if your CO2 levels are sitting at ambient. Past that point you're not buying more yield, you're buying more risk for no return.
There's also a stage most growers ignore entirely: the last 1-3 weeks before harvest. Many commercial operations deliberately scale DLI back down to roughly 40-45 mol/m²/day during this window, easing off rather than pushing maximum output right up to chop, because reducing stress heading into harvest tends to matter more than squeezing out marginal extra light exposure.
One caveat that trips people up constantly: these are canopy-level readings, taken at the top of the plant with a meter, not numbers pulled off a fixture's spec sheet. Mount height, canopy evenness, and how flat or uneven your plant's top growth is all change what the leaves are actually receiving versus what the light claims to output.
The Fix: Correcting Light Burn Without Sending the Plant Into Shock

Photo by Anna Shvets via Pexels.
Once you've confirmed it's light burn and not a nutrient issue, the first physical step is removing the damaged leaves. Bleached, crispy tissue can't photosynthesize anymore — it's dead weight — and leaving it on the plant, especially in a humid tent, invites mold and rot rather than doing the plant any favors by staying attached. Snip it clean and move on.
Resist the urge to solve this in one dramatic move. Raise the light in 4-6 inch increments over a day or two rather than yanking it up all at once. A sudden, large drop in intensity is still a shock to a plant's system, just in the opposite direction from the burn — going from severely overexposed to significantly underexposed in a single step throws off the plant's internal balance again right when it's trying to stabilize.
After every adjustment, get back on the PAR meter and re-measure canopy PPFD directly rather than eyeballing distance and assuming it's fine. Distance-based guessing is exactly what caused the problem in the first place; there's no reason to fall back on it during the fix.
Expect a lag before you see new growth pick back up, and don't mistake that lag for a sign you've mismanaged the recovery. A plant recovering from light burn is redirecting energy toward repairing and stabilizing tissue instead of pushing new leaves, and 5-10 days of apparent stall is a normal part of that process, not evidence of a second problem hiding underneath.
If you're working in a tent with limited vertical clearance and don't have room to raise the fixture further, use the built-in dial or controller to cut intensity instead of fighting for inches you don't have. Dialing down preserves canopy light uniformity in a way that dragging the light upward at an angle or off-center sometimes doesn't.
Last point, and an easy one to ignore when you're anxious to get things back on track: hold off on heavy feeding changes or training work during the recovery window. Topping, LST, or a sudden nutrient bump all ask the plant for more energy at a moment when it's already spending everything it has on repair. Let it stabilize first, then resume normal inputs.
Going Higher Safely: CO2 as the Professional Workaround
Photo by Anna Shvets via Pexels.
There's a reason commercial-scale operations run PPFD well above 1000 µmol/m²/s without cooking their canopy: they're not just adding light, they're removing the bottleneck that makes high light dangerous in the first place. Photosynthesis needs light, water, and CO2 together, and at ambient CO2 levels — around 400 ppm — the plant hits a ceiling on how much light it can actually use no matter how much you throw at it. Past that ceiling, excess energy has nowhere useful to go and starts damaging tissue instead.
Enriched rooms typically run CO2 at 1000-1500 ppm, and at that concentration the plant's photosynthetic machinery can keep pace with considerably higher PPFD and higher temperatures than it could handle at ambient levels. This is the actual mechanism behind commercial grows pushing intensity that would bleach a home canopy running unenriched air.
You've got two realistic paths to get there. Bottled or tank-fed CO2 systems with a regulator and controller give you precise, dialed-in ppm control and the ability to hold a target consistently, which is what serious high-PPFD flowering rooms rely on. For smaller tents, mycelium-based CO2 bags offer a passive, lower-cost option — less precise, but enough of a bump to matter in a small enclosed space without the equipment overhead of a full injection system.
None of this works in isolation, and this is where people get themselves into trouble chasing higher numbers. CO2 enrichment only pays off if temperature, humidity, and airflow are matched to it — you generally want to run enriched rooms a few degrees warmer than an unenriched room to actually use the extra CO2, and stale, poorly circulated air undercuts the benefit no matter what your ppm meter reads. Adding CO2 and cranking light without fixing airflow and climate control just trades one stress for a different one.
If you're not running supplemental CO2 — and most home growers aren't — treat 1000 µmol/m²/s as a practical ceiling in flower rather than an obstacle to push past. Chasing higher numbers without the CO2 to back them up buys you bleaching risk and not much else.
Preventing the Next Round of Light Burn

Photo by MySeeds DE via Pexels.
Every avoidable case of light burn traces back to the same root cause: a mount distance or dial setting chosen without a measurement to back it up. The fix for the next grow starts before you even put a plant under the light — take a PPFD reading at canopy height with your new fixture in whatever space you're using, and set your starting distance from that number instead of from a spec sheet or a habit carried over from your last setup.
From there, increase intensity gradually as the plant actually progresses through its stages, matching the targets rather than running a fixture at max output from day one because it's capable of it. A plant's tolerance for light climbs as it develops more leaf area and a more mature photosynthetic system — respect that curve instead of trying to shortcut it.
It's also worth being honest that genetics play a real role here, and outcomes at identical PPFD readings genuinely differ between strains. Some cultivars have thicker leaf structure and higher natural light tolerance; others are noticeably more sensitive and will show stress at intensities that a hardier plant shrugs off. Climate and setup shift the picture too, so a number that's safe in one tent with strong airflow might be borderline in another with stagnant air and higher ambient heat.
Starting with quality, well-bred seeds gives you a more predictable baseline to work from. Vigorous, stable genetics tend to handle the upper end of a PPFD range with more consistency, which matters directly if you're trying to push intensity toward 900-1000 µmol/m²/s in flower rather than playing it conservative the whole cycle. It's part of why Seedtiva puts as much emphasis on genetic quality as it does — a plant with strong underlying vigor gives you more room to work with before you're anywhere near its stress threshold.
Finally, keep a log. Light height, dial percentage, and PPFD readings at each stage transition, written down as you go rather than relying on memory a few weeks later. It sounds unnecessary until you're troubleshooting a problem in week 6 of flower and can't remember whether you moved the light two inches or four the last time you adjusted it. A simple running log turns every future adjustment into a data-driven decision instead of another guess.
Strip away the panic and light burn is really a measurement failure dressed up as a lighting failure. The fixture did exactly what it was built to do — it's an efficient light source putting out real PAR. The canopy simply received more of it than the plant could put to use, and nobody was checking the number that would have caught it before the damage showed up in the leaves.
Fixing it fast comes down to resisting the same instinct that usually causes the original problem: the urge to overcorrect. A dramatic height change or an aggressive dimmer cut feels like decisive action, but it's just a second stress layered on top of the first, and the plant has to absorb both instead of just recovering from one. Small moves — 4-6 inches at a time, re-measured, patient — get you back to healthy growth faster than any big gesture will.
Buy the meter. Take the readings. Let the plant have its 5-10 days of apparent stall without second-guessing yourself into another change. A stunted canopy corrected with real numbers gets back to vigorous growth on a predictable timeline — guesswork just extends the recovery and increases the odds you make the same mistake again next cycle.